Menu
Call This Friday to Get $35 OFF
Call This Friday to Get $35 OFF
 Dec 30, 2025
If you’re considering installing a water softening system in your home or upgrading an existing one, you’re well aware of the incredible benefits it offers. Softened water is not just better-tasting; it’s also gentler on your skin and hair. But what exactly happens during a water softener installation? Understanding what goes into the whole process and working with a licensed plumber will ensure everything goes smoothly. Here at Rooter Man Plumbing, we’ve been installing water softeners for decades and have always received 5-star reviews for doing a great job. Let us break down what to expect during a water softener installation.
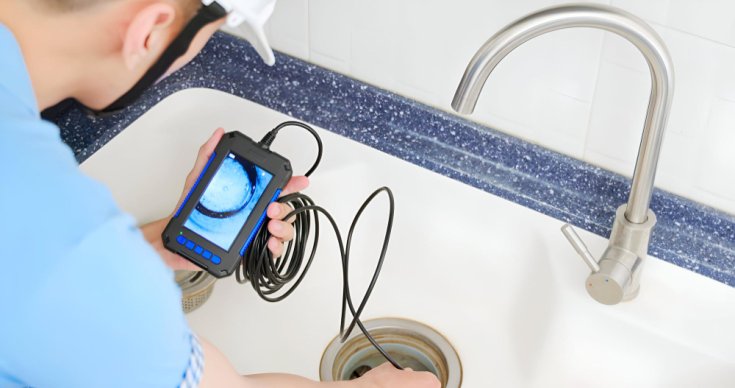
The process of installing a water softener begins with an assessment of your home’s water supply and plumbing system. A licensed plumber in Tacoma, WA will evaluate water hardness levels, identify your household’s water usage needs, and determine the best type and size of water softener.
There are two common types of water softeners to choose from: salt-based softeners and salt-free units. Experienced plumbers will walk you through the benefits of each type and offer professional recommendations based on your needs. They’ll consider factors like water hardness, flow rate requirements, available space, and your maintenance preferences.
Before installation, the plumber will prepare the designated area. This may involve clearing space near the main water line, checking for proper drainage, and ensuring access to an electrical outlet if needed. The preparation stage is important to save time and streamline the entire process.
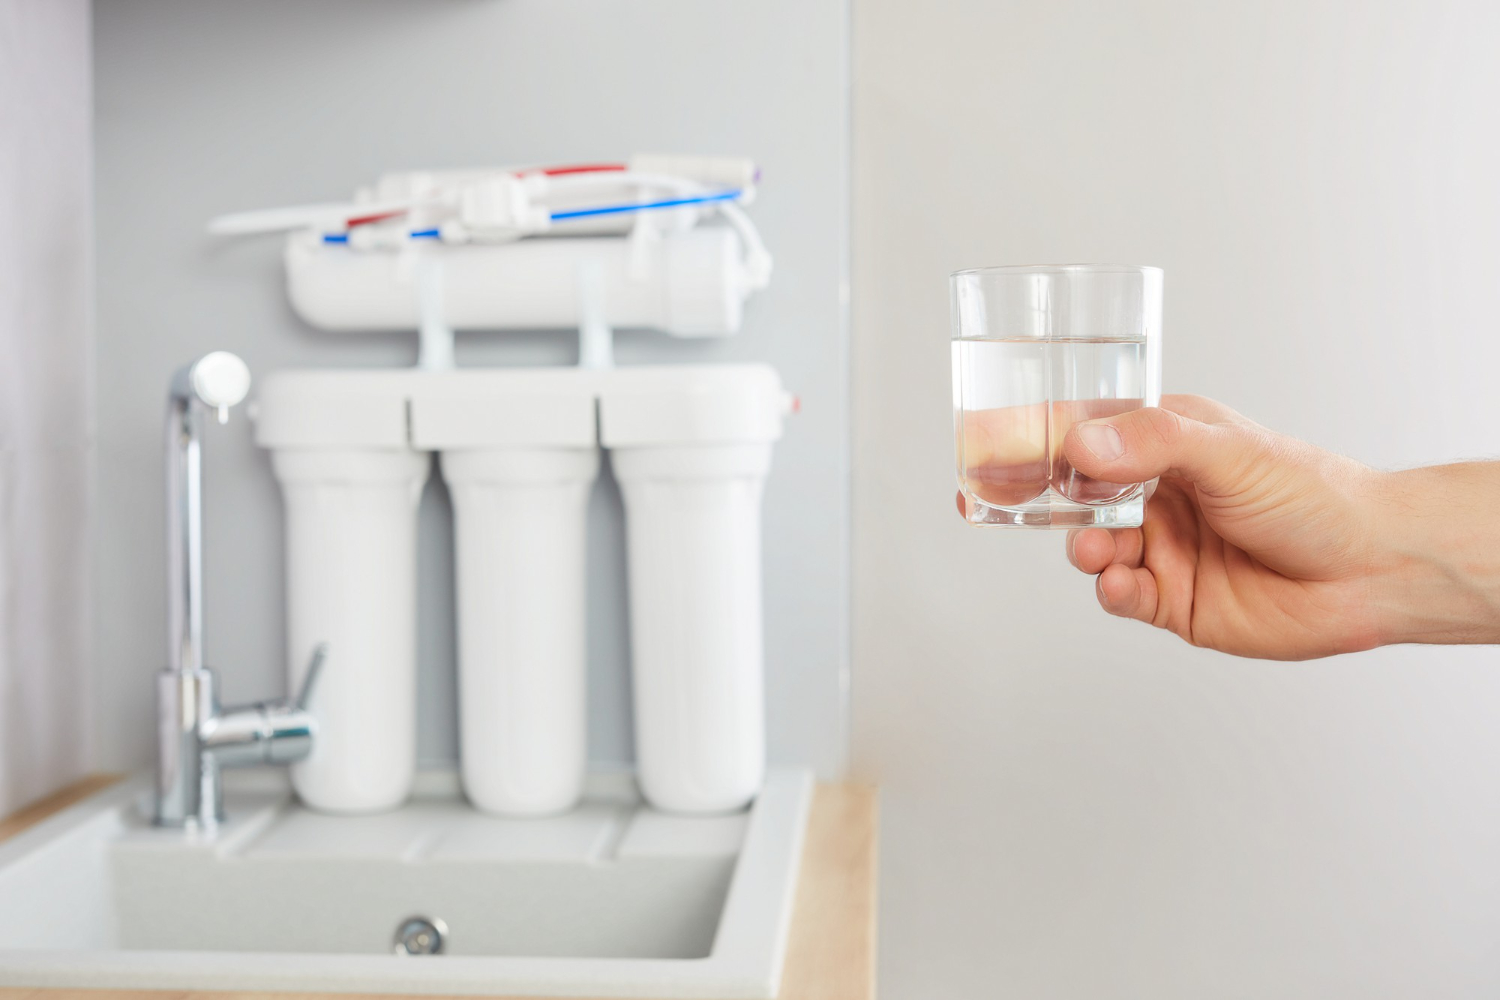
The water softener is connected to the main water supply and, if applicable, the drainage system. This step has to be handled correctly to prevent leaks, ensure proper water flow, and integrate the softener into your home’s plumbing. For salt-based systems, the brine tank is filled, and all settings are programmed according to your household’s water usage.
Once installed, the plumber will run tests to confirm the system is operating correctly. This includes checking water pressure, softener regeneration cycles, and salt or media levels. Calibration ensures your water softener delivers consistently softened water without wasting resources.
A professional installation doesn’t end once the system is operational. Your plumber will provide a detailed walkthrough, explaining how to monitor salt or media levels, perform basic maintenance, and troubleshoot minor issues. It’s important that you pay close attention during this walkthrough and ask questions if anything is unclear.
Many professional plumbing repair services offer follow-up support and maintenance programs. Regular inspections and service help maintain peak efficiency, prevent issues, and extend the life of your water softener. You’ll be required to clean the brine tank every 6-12 months to keep the system running properly.
These are the simple steps that plumbing technicians follow when installing a water softener. Clearly, water softener installation is more complicated than DIY tutorials make it seem. Even if you’re looking to save money or test your DIY skills, it’s never a good idea to take matters into your hands. Let a professional plumbing repair service handle the job for your peace of mind.
Investing in a water softener installation brings more than just softened water; it keeps your pipes in great shape, delivers long-term savings, and improves appliance performance. If you’re looking for a licensed plumber to install a water softener in your home, look no further than Rooter Man Plumbing. Our plumbers are highly trained, experienced, and well equipped to install reliable water softeners and filtration systems. Call us to schedule a consultation and take the first step toward softened water.

.jpg)